Bullet Journal is a great way to declutter your mind, get everything done and let your creative side shine out.
One thing must of us could be worried about when working on a Bullet Journal or a planner is “I don’t like my handwriting” or “my handwriting is not pretty enough”.
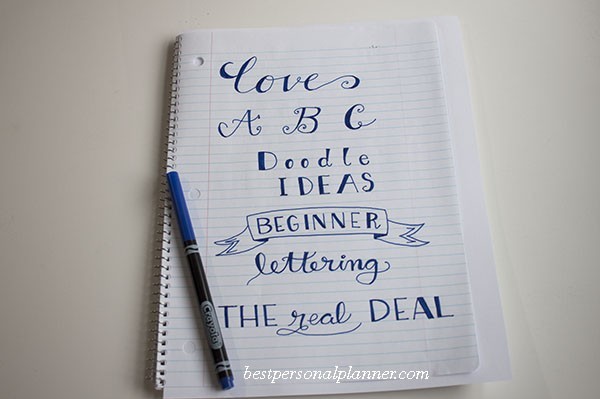
Calligraphy for beginners.
But I don’t belive that! everyone has beautiful handwriting, I used to think that too, my handwriting can be just “regular” or “nothing speacial”, well I have good news for you… as I work on my journal or planner I like more and more my handwriting, even if it’s not the best, I like what I do and must of all I love how it can become more creative every day, so it’s just a matter of practice.
The more you work on it the better it can get, so you need to keep writing and make all those mistakes, they will add your personal touch to your writing and there’s always a way to get the best of them.
If I tell you how many times I needed to write one thing over and over until I got it close to what I have in my mind, you won’t belive me, but this time I will share how I’m making my first steps to hand calligraphy and love how it looks!
As I did, you might want to start doing the first exercise on a regular notebook, if something goes the wrong way, don’t worry you still have more paper to practice on until you get to the point where you like what you write.
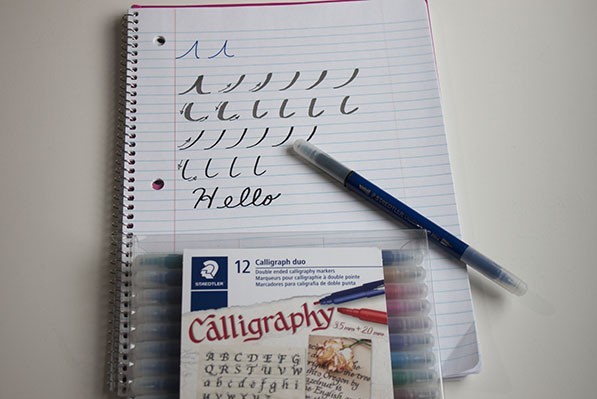
Excercise to warm up to work better when you do calligraphy for your Bullet Journal.
As you can see on the picture above, I found some great Calligraphy duo markers to do my calligraphy exercise, they work pretty good and each marker has two points so you can work on wider letters and narrow letters, and you’ll have 12 different colors to work with.
These markers will add some color and beautiful calligraphy to your Bullet Journal.
To start working with calligraphy, you might need to work on the first exercises, as you can see in the picture, you’ll need to do the first exercise; work on the lines to go up, make as many lines as you need to until you’re happy with this trace.
The second exercise is to work on the lines that go down, start from the upper point and go down, do as many traces the same until you’re happy with the results.
Then you’re ready to start working with the letters. Do the alphabet as many times as you want to, and try different shapes of letters, you’ll discover how fun it is to work on this exercise.
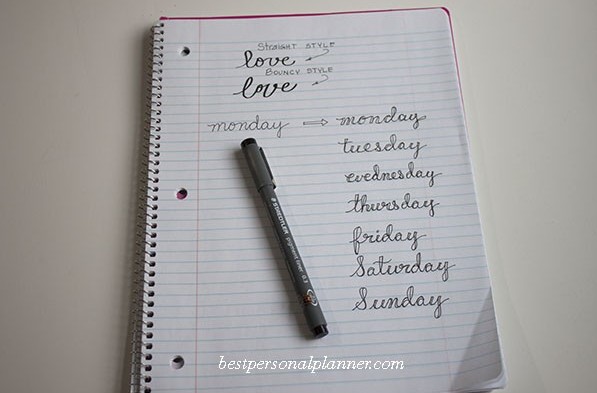
Fake Calligraphy
There’s so many great ways to decorate a Bullet Journal and fake calligraphy is one of them and it’s fun to work with it.
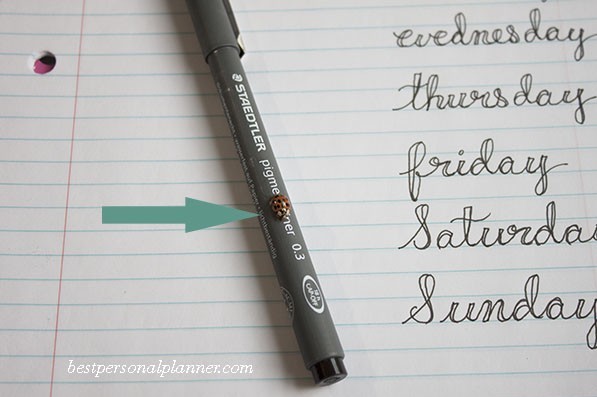
This time I work with Steadler linner 0.3, once again do as I did, do the exercise on a regular notebook, it will help you to work on your calligraphy with no worries to make a mistake on your Bullet Journal or your planner, make your writing simple or as creative as you want to.
To make the fake calligraphy, you need to write first as you are used to doing, then trace a second line on the lines that go down when you write.
You can leave the fake calligraphy like this, with two lines in the lines that go down.
Or you can fill up that little space to make it solid.
Both ways will look great and you have two different styles of handwriting calligraphy to decorate your Journal or planner.
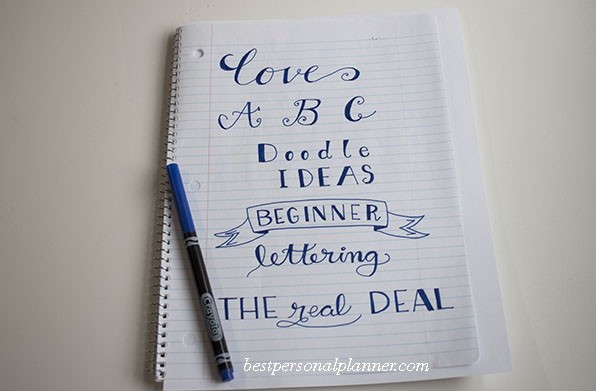
As you can see here in this picture, I also tried Crayola markers to work with calligraphy and I found the work pretty good, when I work with this marker, the ink dries well and fast and it doesn’t go on the next page.
I could try a little different lettering styles, and I love the results,
It might take some time when you work on the first exercises, but the more you do different lettering and exercises you will get used to it and your lettering will get better.
Closing:
Give yourself the chance to try some new things to work with as handwriting calligraphy and lettering, you don’t need to get any expensive tools to do this, you might have already those markers at home that will help you to start doing your first calligraphy work on your Bullet Journal.
If you like to work with calligraphy, you can start looking for some calligraphy pens that will help you to work with it.
Do as many exercise as you want to, try capital and lower case letters, try wide and narrow letters, and also try to work on the ending long trace of words, they are fancy and elegant.
Find your own style.
At the beginning everyone should try to copy some basic calligraphy exercises, but as you work on it, you’ll find you’ll get more confident on your own style.
Then you might look to see other peoples calligraphy to get inspired and to try new lines and endings.
The more you work on it the better it will get, I’m sure you’ll be sharing soon your own calligrapy and everyone will get inspired by you.
You can read also:
Bullet Journal 2018 -free printable
Bullet Journal Weight Loss Tracker
Today, while I was working on the pictures for the blog post, I noticed I got a helper, yes a little cute lady bug wanted to be in the picture, so I thought it might be nice to share this moment with you.
If you find this blog post helpful and you’ll work on your own calligraphy, you can PIN this blog post so you can find it later.
PIN ME
I love calligraphy! I am currently into craft and making cards, and would like to include calligraphy as my message to the recipient of the card. Thanks for your tips on working with calligraphy, I find them very useful and helpful in improving my calligraphy skills. Looking forward to more calligraphy tips from your blog. Keep up the good work!
Boy calligraphy brings back some old memories for me. I took it in high school as an elective class. I loved it though. It might be something to get back into and from what I read and seen on your post you would be a great teacher. I just wanted to make sure I read it right you have a place to buy these special pens on there right?