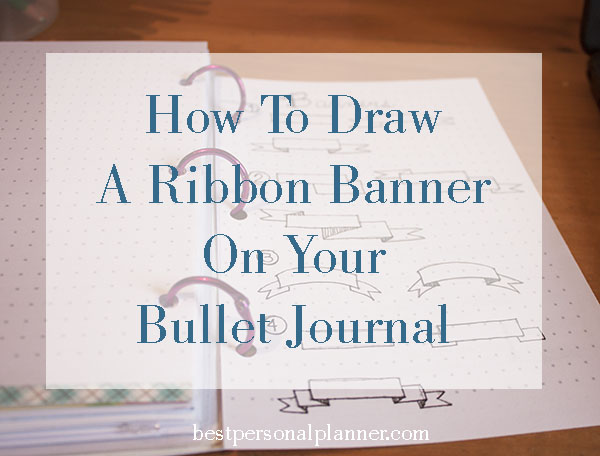
As you work on your Bullet Journal, you might want to add some banners.
Banners can be added as a way to highlight a title or something important to you, as you work on your personal planner or bullet journal, there will be things you need to remember or to focus on, this is why a banner can be so helpful to you and they are easy to draw.
You don’t need to be a talented artist to start drawing your own banners, relax, grab a pencil and let it happen!
You can draw a few banners on a white piece of paper if you want to work on doing some sketches. I’m sure as soon as you draw out your first one you will see how easy it is to do it and you will get confident to draw as many banners as you want to right on your next bullet journal page, then each one of them will be perfect.
All you need to have at hand to start drawing is a pencil, a permanent ink liner, I like to use Staedtler liners 0.5 or 0.3, and this time I want to work with Staedtler Noris colour pencils to add some color to my banners.
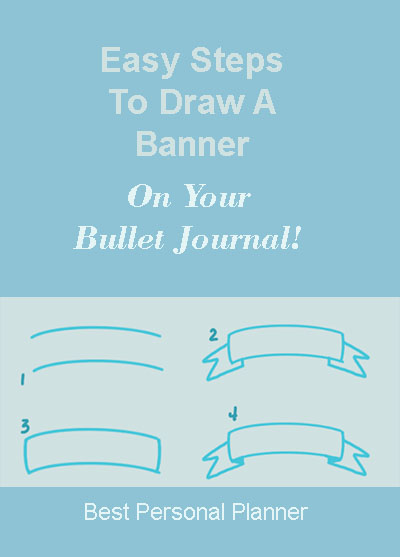
Easy Steps To Draw a Banner On Your Bullet Journal
1- Start drawing a rectangle as big as your title will be, then add on each side two horizontal lines, and draw the ribbon point on each point, as the final touch so the ribbon look more realistic, you can draw a diagonal line to connect the ribbon fold on each side this will make your banner looks 3D.
2- Add one layer of color to the banner.
3 – As a final step, you can add a second layer of color just on the ribbon folds with a darker tone of the same color.
I like how these Staedtler color pencil add a fine layer of color on the banner, you don’t need to work hard to add the color to the drawings.
As the color pigment on these pencils is high quality, to add the color to your doodles on your bullet journal won’t take more than 30 seconds depending on the size of the doodles.
Your banner will be ready to add the title in just a minute or so!
I find the idea to work on the title banners really easy and you can work on your bullet journal in your own personal style!
Making your bullet journal your own style is from my point of view one of the most important things about it, it will help you to develop your own personal style.
Keep working on your sketches as much as you want to until you get the banner you really like! There’s no rule here.
Make the banners big or small, with color or no color, add the title on them and have fun, as you work on your bullet journal, you will see how easy is it to do.
It will help you to get organized, do more in less time and jump into the creative side of life!
In a few weeks or months you will see how good you’re getting at it. The more you draw these ribbon banners on your personal planner or bullet journal you will see how easy it is to do.
Best Personal Planner readers also love to read:
6 tips to start your bullet journal
Gifts ideas for planner addicts
If you have any questions about this post, write your question on a comment I will reply to it.
As easy as that!
Wow, you present the steps in such a simple form its easy to follow. By just looking at the drawn banner I wouldn’t know where to start. It just amazes me.
I will be bookmarking your website so keep posting amazing posts like this one as I will be coming back. Thumbs up! 🙂
Hey there,
I tried doing this on my own and I messed up everything. I have seen that you recommend staedler pencil.
The problem is there is no brand for staedler pencil. Do you have any other alternatives I can use which are just as great as what you recommend?
Also, can you use a ruler to draw the banners of your hands are always shaking?
I really like this! This is so creative and your steps are very easy to follow. Style number one is more my kind of thing so I will be trying that next time I write in mine. I think this is a great way to make a bullet journal more interesting to look at and enjoyable to work with. Thank you!